There’s no question that video has already changed the way we learn, communicate, and generally consume content. With the ever increasing speed of the internet and mobile connectivity, watching video has become as easy as doing anything else on the internet. The tricky part comes when trying to recognise people’s behaviours and viewing habits.
“More than 500 million hours of videos are watched on YouTube each day.” Wordstream
Video creation giants Animoto recently conducted research and discovered that even with all this video being digested, only 15% of video on Facebook is watched with the sound on. This is shocking when you consider how much information is attempted to be communicated through spoken dialogue, but is potentially lost due to the sound being turned off.
I’m not too bothered about Facebook users
You’re less interested in Facebook as it’s not a primary source of traffic or revenue for you. So let’s look at your users instead. According to Action On Hearing Loss, currently about one in six people throughout Britain experience some kind of hearing loss or impairment. That's 11 million people, in the UK alone! 11 million people potentially not getting the full experience of your video, that’s a pretty big group of people that could easily get the benefit from your video content just by adding subtitles.
Using video on social media can increase engagement by 70%, but it’s important to remember that in order to fully benefit from that impact, we need to make video content as inclusive and accessible as possible.
How can I add subtitles to YouTube videos for free?
6 easy steps to adding subtitles in YouTube
One of the quickest and easiest ways to add subtitles is with YouTube, as they do a lot of the hard work for you. Let’s take a quick look at adding subtitles to a video, and later, ensuring that they’re on when someone watches. Here’s how...
Step 1.
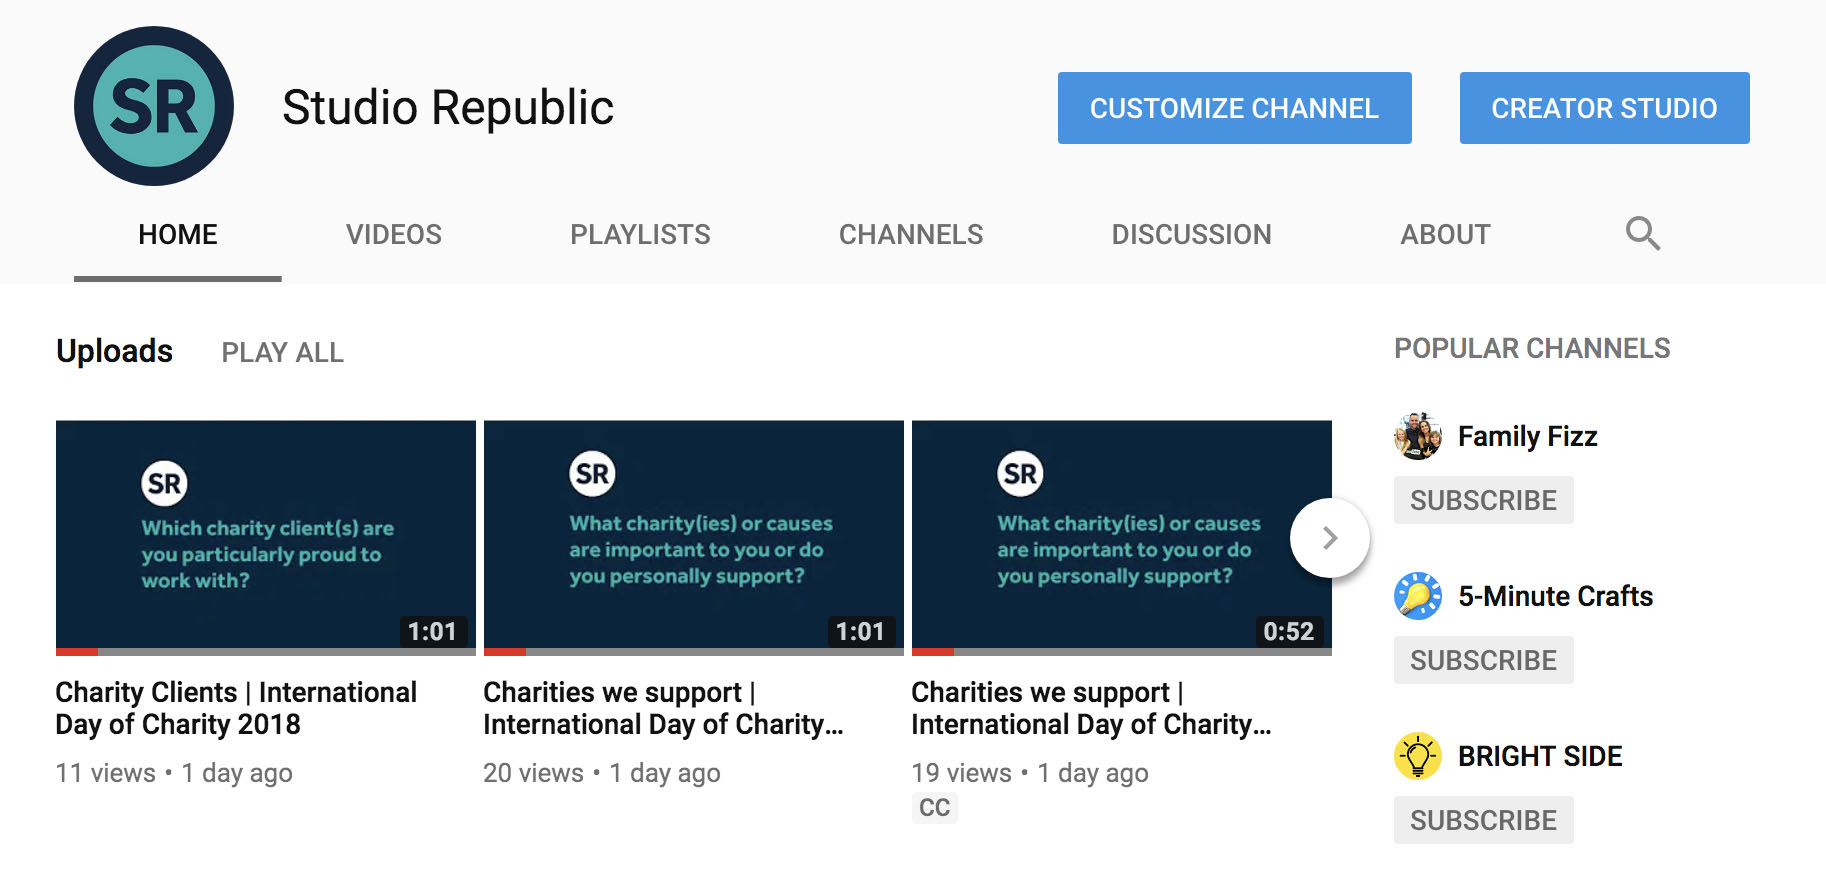
Log in to your YouTube account and go to your channel. Then click on the blue ‘Creator Studio’ button in the top right of the screen.
Step 2.
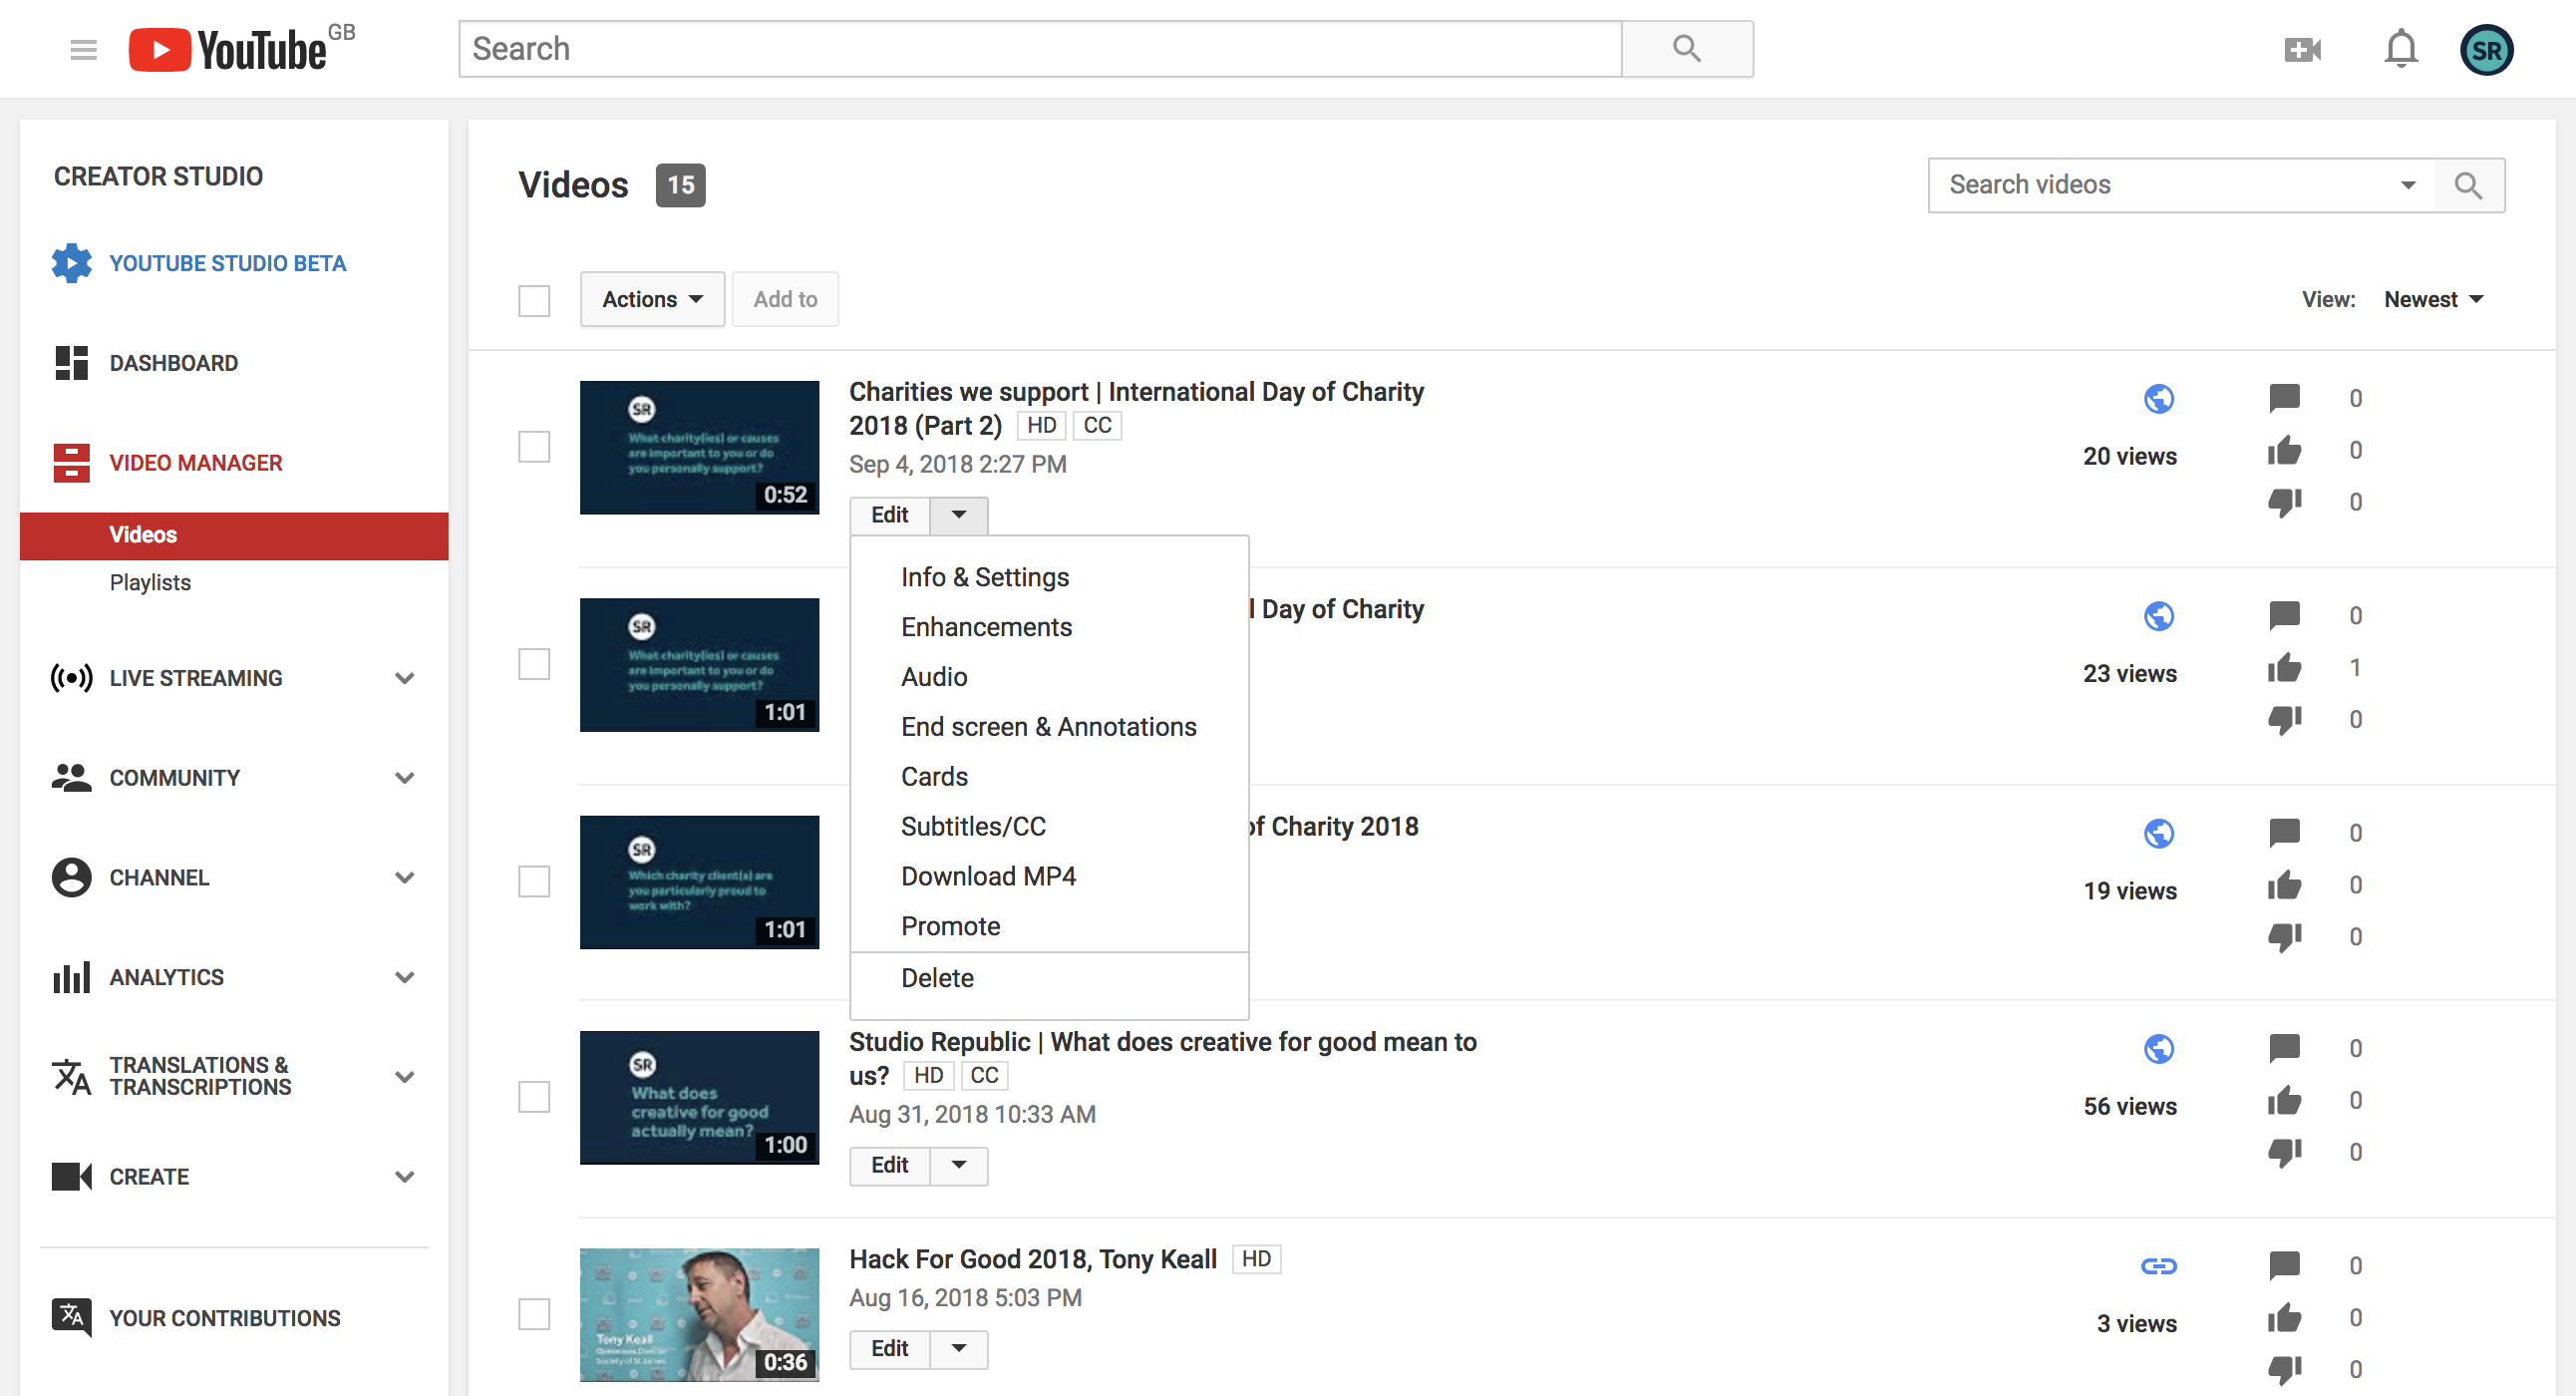
You’ll now see a list of all the videos you’ve uploaded. Next to each video is an edit button and an arrow. Clicking on the arrow will bring up a list of editing options. Choose ‘Subtitles/CC’ to begin adding captions.
Step 3.
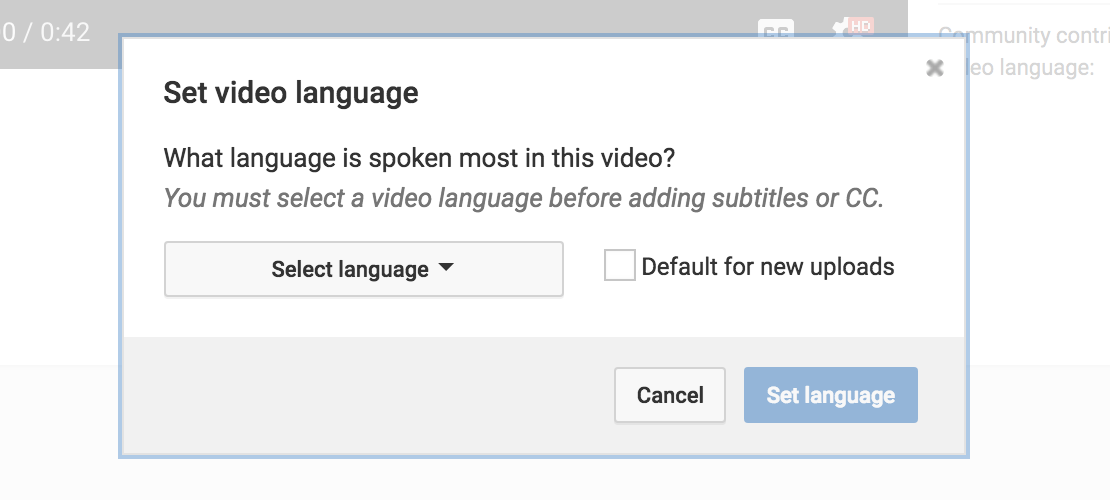
YouTube will now give you a pop up window asking you to set the language spoken in the video. Choose the option that is most appropriate.
Step 4.
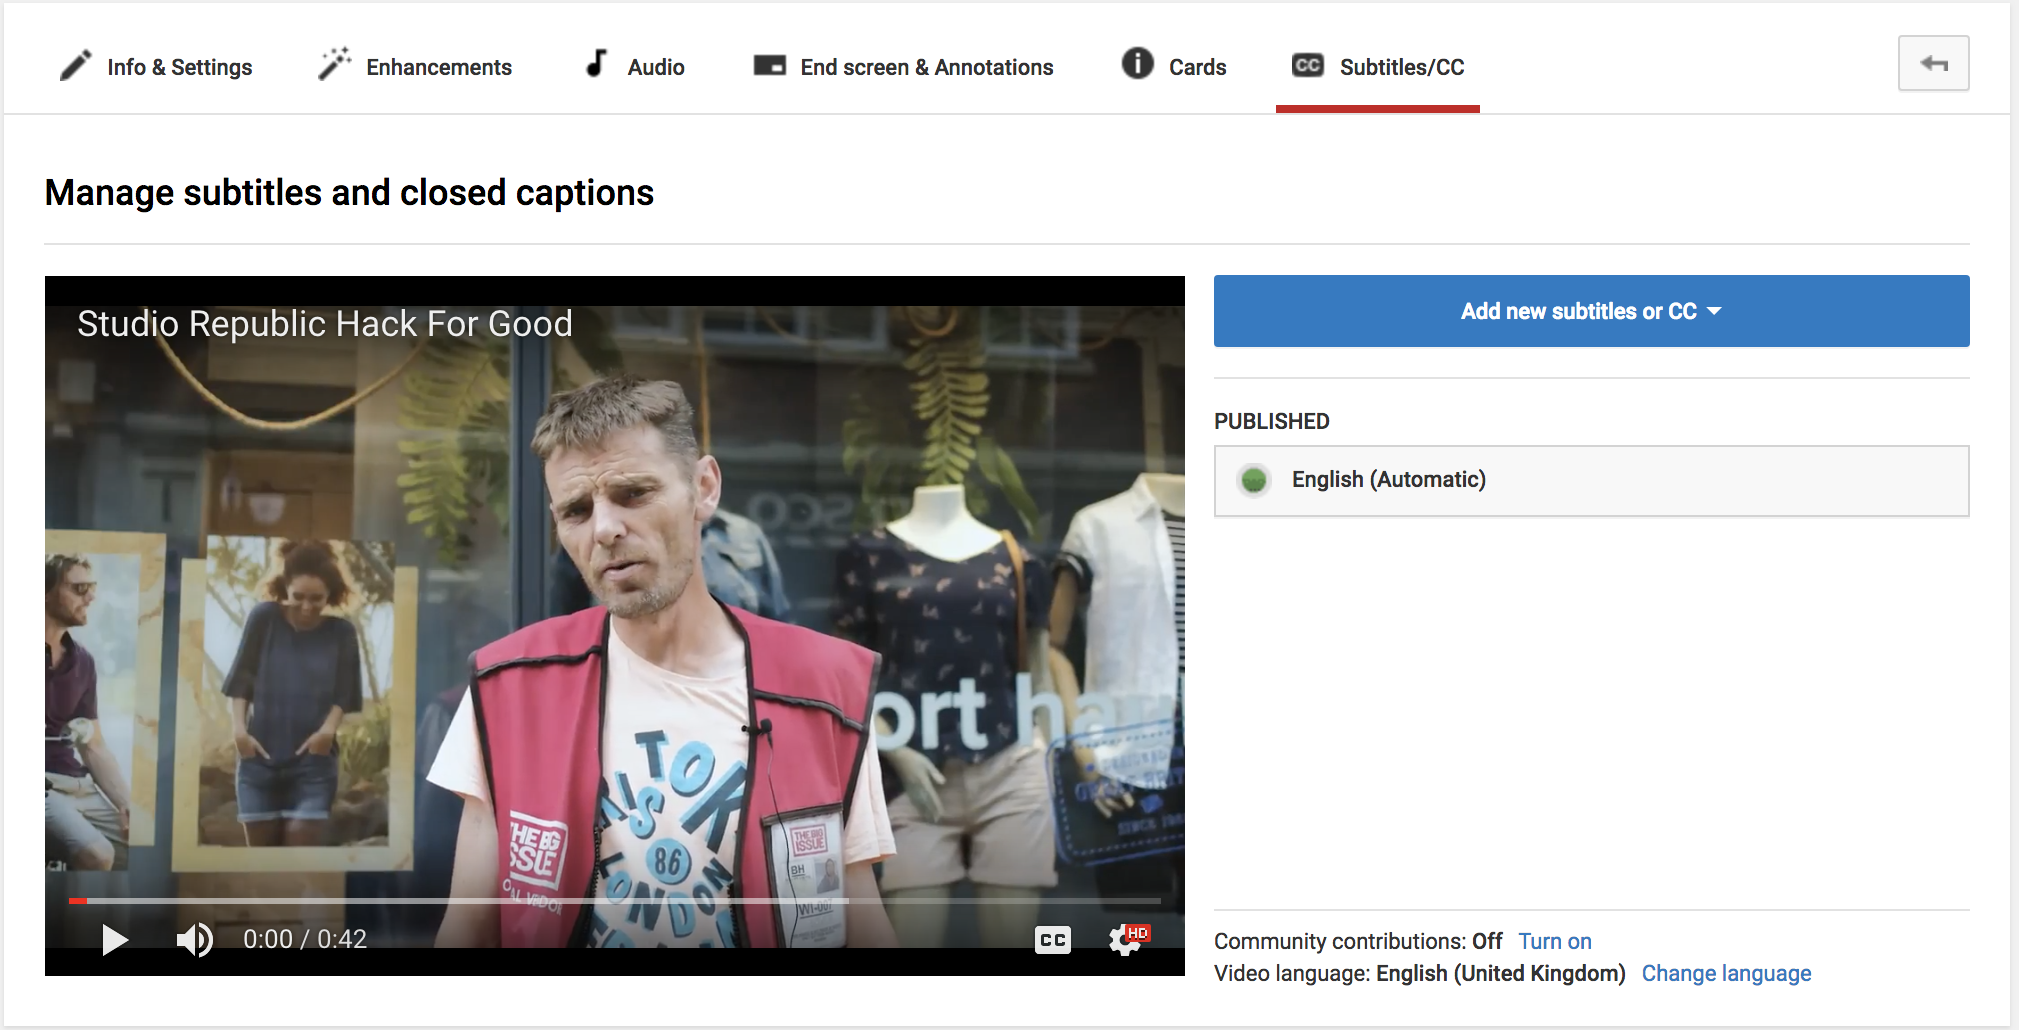
You’ll now be shown a larger version of your video with two options to the right of it, one that says “Add new subtitles or CC”, and one under the heading “Published” that should mention the language you chose in Step 3, click this option.
Step 5.
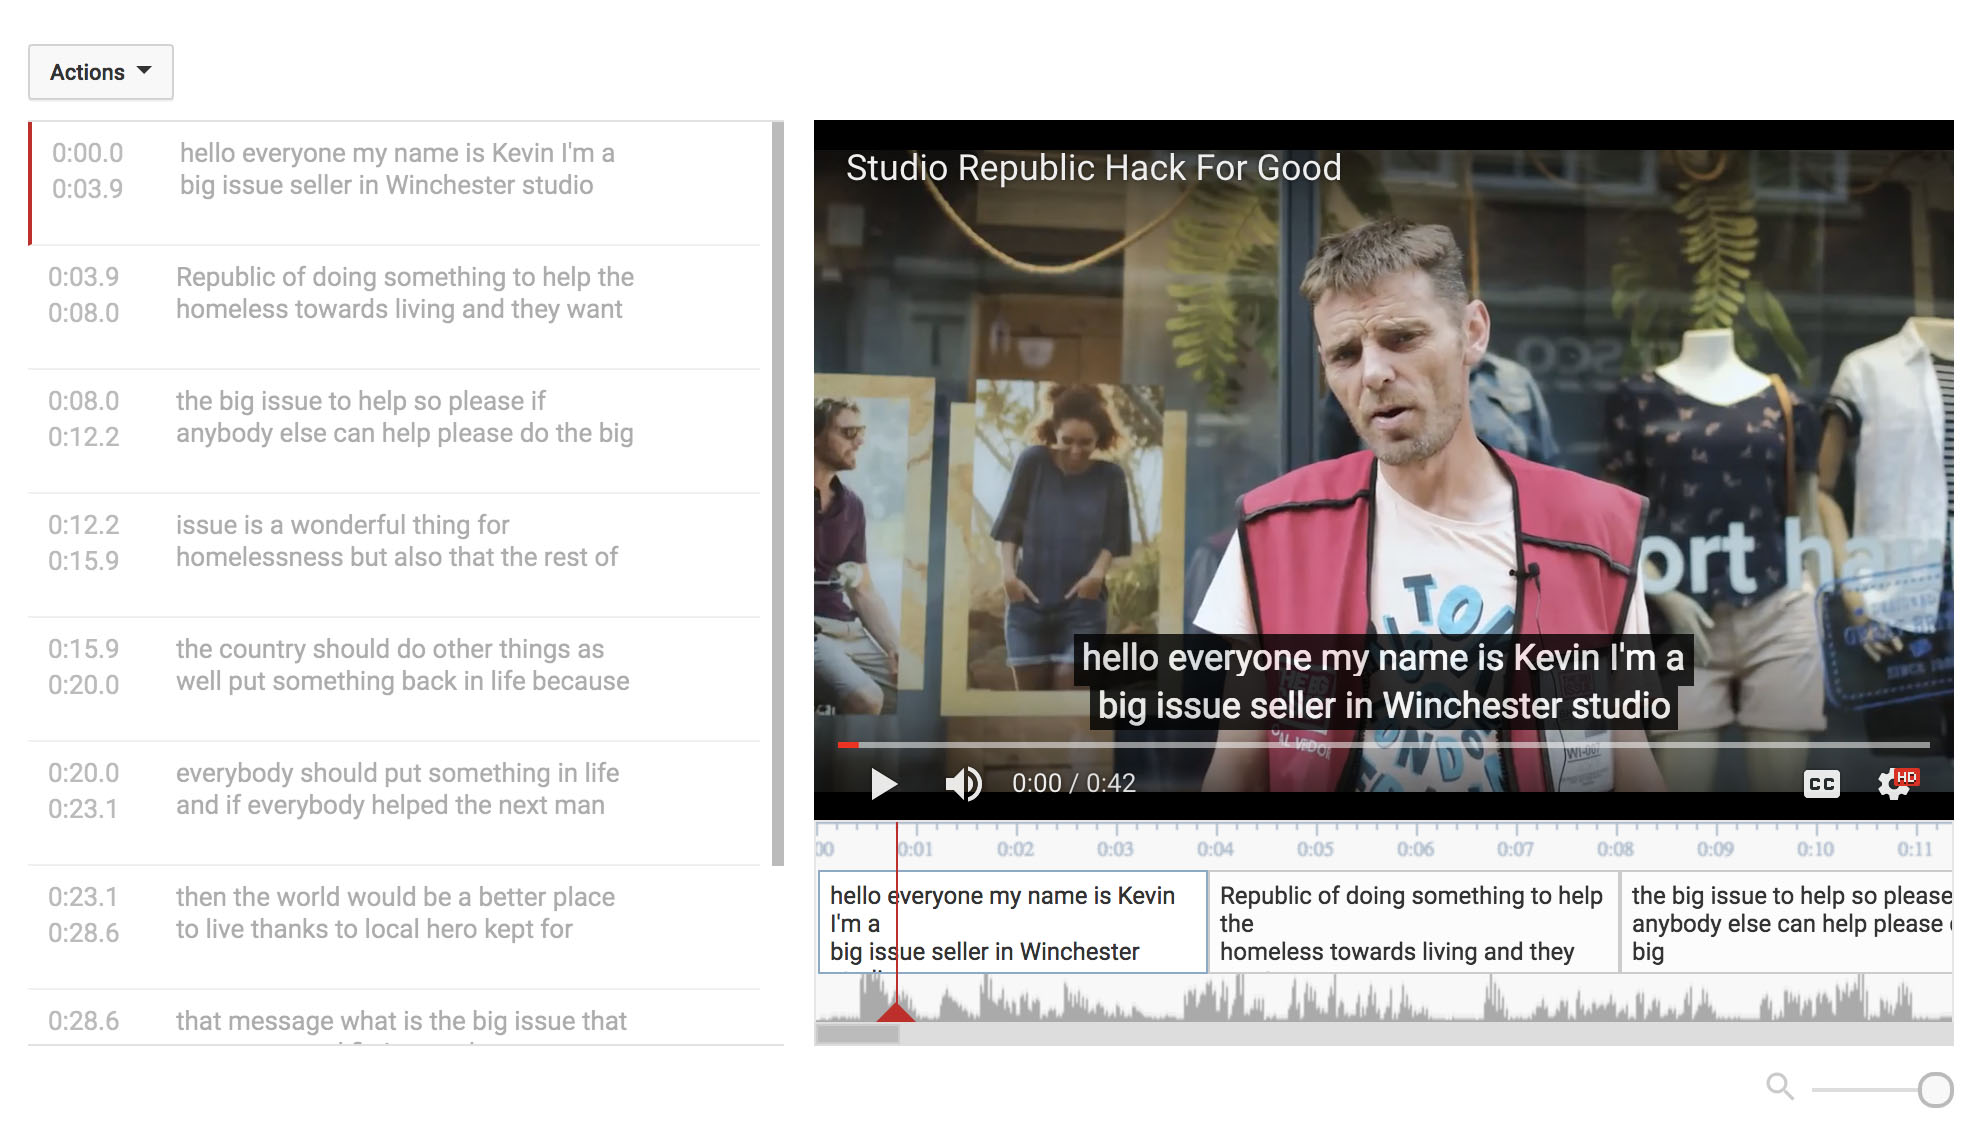
Wait a couple of seconds for YouTube to generate your subtitles. Now, down the left of the video, you can see how YouTube has rendered the audio in your video. It’s usually 99% accurate, but it’s worth watching it through to make sure everything’s ok and lined up properly.
Step 6.
If you want to make any amends simply click the ‘Edit’ button. You can then click on one of the captions to the left of the video and change the text in the box. You can also realign it to the footage of your video with the timeline underneath. When you’re happy, click the blue save button in the top right.
Making sure your subtitles autoplay
Now you’ve finished adding your subtitles, anyone watching your video has the option to turn them on when watching. However, if they happen to be reading through your blog post on their mobile phone and click to watch your video, the option to switch closed captions on isn’t as obvious as on a larger desktop screen. It’s hidden in a menu a few clicks away, and by the time the user has found it, your video could be almost over, your call to action missed, and any hope of a conversion is lost.
But wait, what if your subtitles were already on? They wouldn’t have missed anything!
Is there a way of setting your subtitles to be on as default?
Yes there is! Fortunately, we’ve come across this handy little YouTube hack. When you go to add tags for your video, simply adding #yt:cc=on after all your other tags will force the subtitles on when someone next loads up your video.
Can I use my subtitled video on other platforms?
Your video can now be used in your blog, your website, and on your Facebook or LinkedIn feeds. We make shorter video footage for use on Instagram and we've found that, because Instagram videos have to be under 60 seconds, it's quicker to transcribe those videos ourselves than to use and correct an app. Whatever your motivation, creating content and design that is accessible to as many people as possible is important, and not just important to us here at Studio Republic.